Dev Series – Phoenix part 1 – Elixir Phoenix Installation
Published at May 30, 2021
This will be a dev series about on how to install, build and deploy an application using Phoenix framework and other third party libraries.
What are we building?
Since I started going to the gym, I will build a simple application that tracks the users workout routine. It will let you input the exercises that you have done, how many sets and reps, show the data of your exercises, and simple graph of your progress.
I will be using Elixir/Phoenix for this project as I want to practice and explore more of its features. You can learn more about the two on the link below:
- Elixir – https://elixir-lang.org/
- Phoenix – https://www.phoenixframework.org/
On this blog we will focus on learning on how to install Elixir and Phoenix, create the app, add database to your application and running the app.
Installation
First, we will be installing Elixir via homebrew. You can follow the link below on how to install homebrew to your system:
$ brew update
$ brew install elixir

# incase nodejs is not installed
$ brew install node

# we will be using postgres for our database
$ brew install postgresql
$ brew services start postgresql
You could check if elixir was installed successfully by typing:
$ elixir -v

# Upgrade incase it is below 1.5
$ brew upgrade elixir
Or by opening it’s built in repl:
$ iexiex> IO.puts "Hello Alchemists!"
Hello Alchemists!
:okYay! You are now an alchemist!
Let us now install Hex, it is the elixir package manager that will help us install not only Phoenix but also other elixir libraries. You can compare it to ruby’s gem or nodejs’s npm. We can install hex by running:
$ mix local.hexYou can visit their official page to learn more about hex and if you want to check the available libraries:
https://hex.pm/
Lastly, we can now install Phoenix Framework. Similar with hex we can use the mix command:
# or use which ever version is available
$ mix archive.install hex phx_new 1.5.9
App creation
Finally, We can now create our first app! To do this lets run:
$ mix phx.new repzOnce it’s done, go to your app root directory and create the database:
$ cd repz
$ mix ecto.create
We can now run our app:
$ mix phx.server
[info] Running RepzWeb.Endpoint with cowboy 2.7.0 at 0.0.0.0:4000 (http)
[info] Access RepzWeb.Endpoint at http://localhost:4000
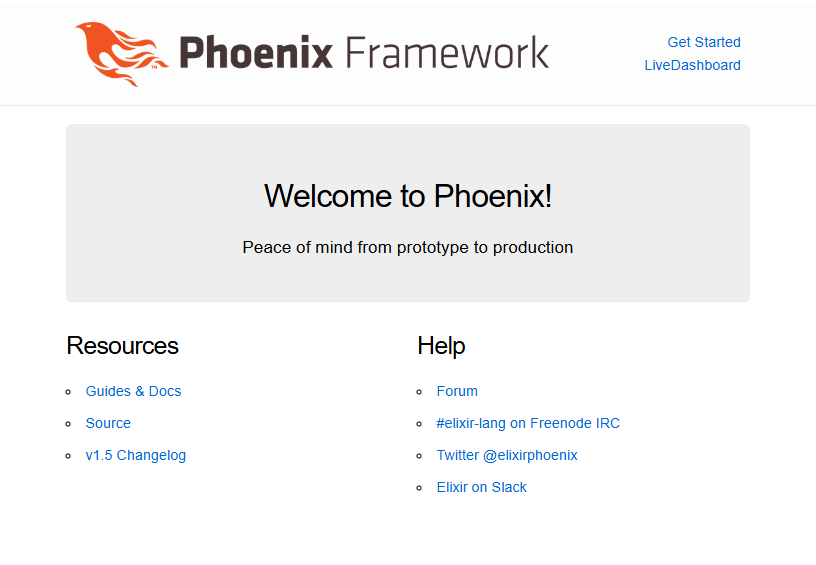
Go to your browser and visit http://localhost:4000

Woah! we now have a running Phoenix Application!
Postgres User Error
In case you encounter a database connection error similar to the one below:
** (Mix) The database for Repz.Repo couldn\'t be created: an exception was raised:
** (DB.Connection.ConnectionError) tcp connect (localhost:5432): connection refused - :econnrefused
(db_connection) lib/db_connection/connection/connection.ex:148: DBConnection.Connection.connect/2
(connection) lib/connection.ex:622: Connection.enter_connect/5
(stdlib) proc_lib.erl:247: :proc_lib.init_p_do_apply/3
You can fix this by creating a postgres user.
# Phoenix use postgres as a default user for local development
$ createuser -d postgres
Summary
On this blog, we have learned on how to install Elixir and Phoenix and also create our starter app that we will be using for this dev series. Elixir and Phoenix are pretty great language/framework. It helps you spin up an application so quickly and be more productive. I highly suggest to read the Elixir/Phoenix documentation to learn more of their key features and functionalities. On the next blog we will go deep dive and learn the anatomy of Phoenix. See you then…
Keep on Coding!